I didn’t jump on the sourdough trend in 2020 when the whole world seemed to take it up during the pandemic. I took it up in my journey to find ways to make food easier to digest for my daughter Selah after her diagnosis with both Gastroparesis and Crohn’s Disease. I was lucky enough to be tutored by another Maker who has become a friend over the years, Kathy Gray. As a soap maker Kathy has always been a leader and on the cutting edge of experimentation so she was a perfect sourdough guide for me.
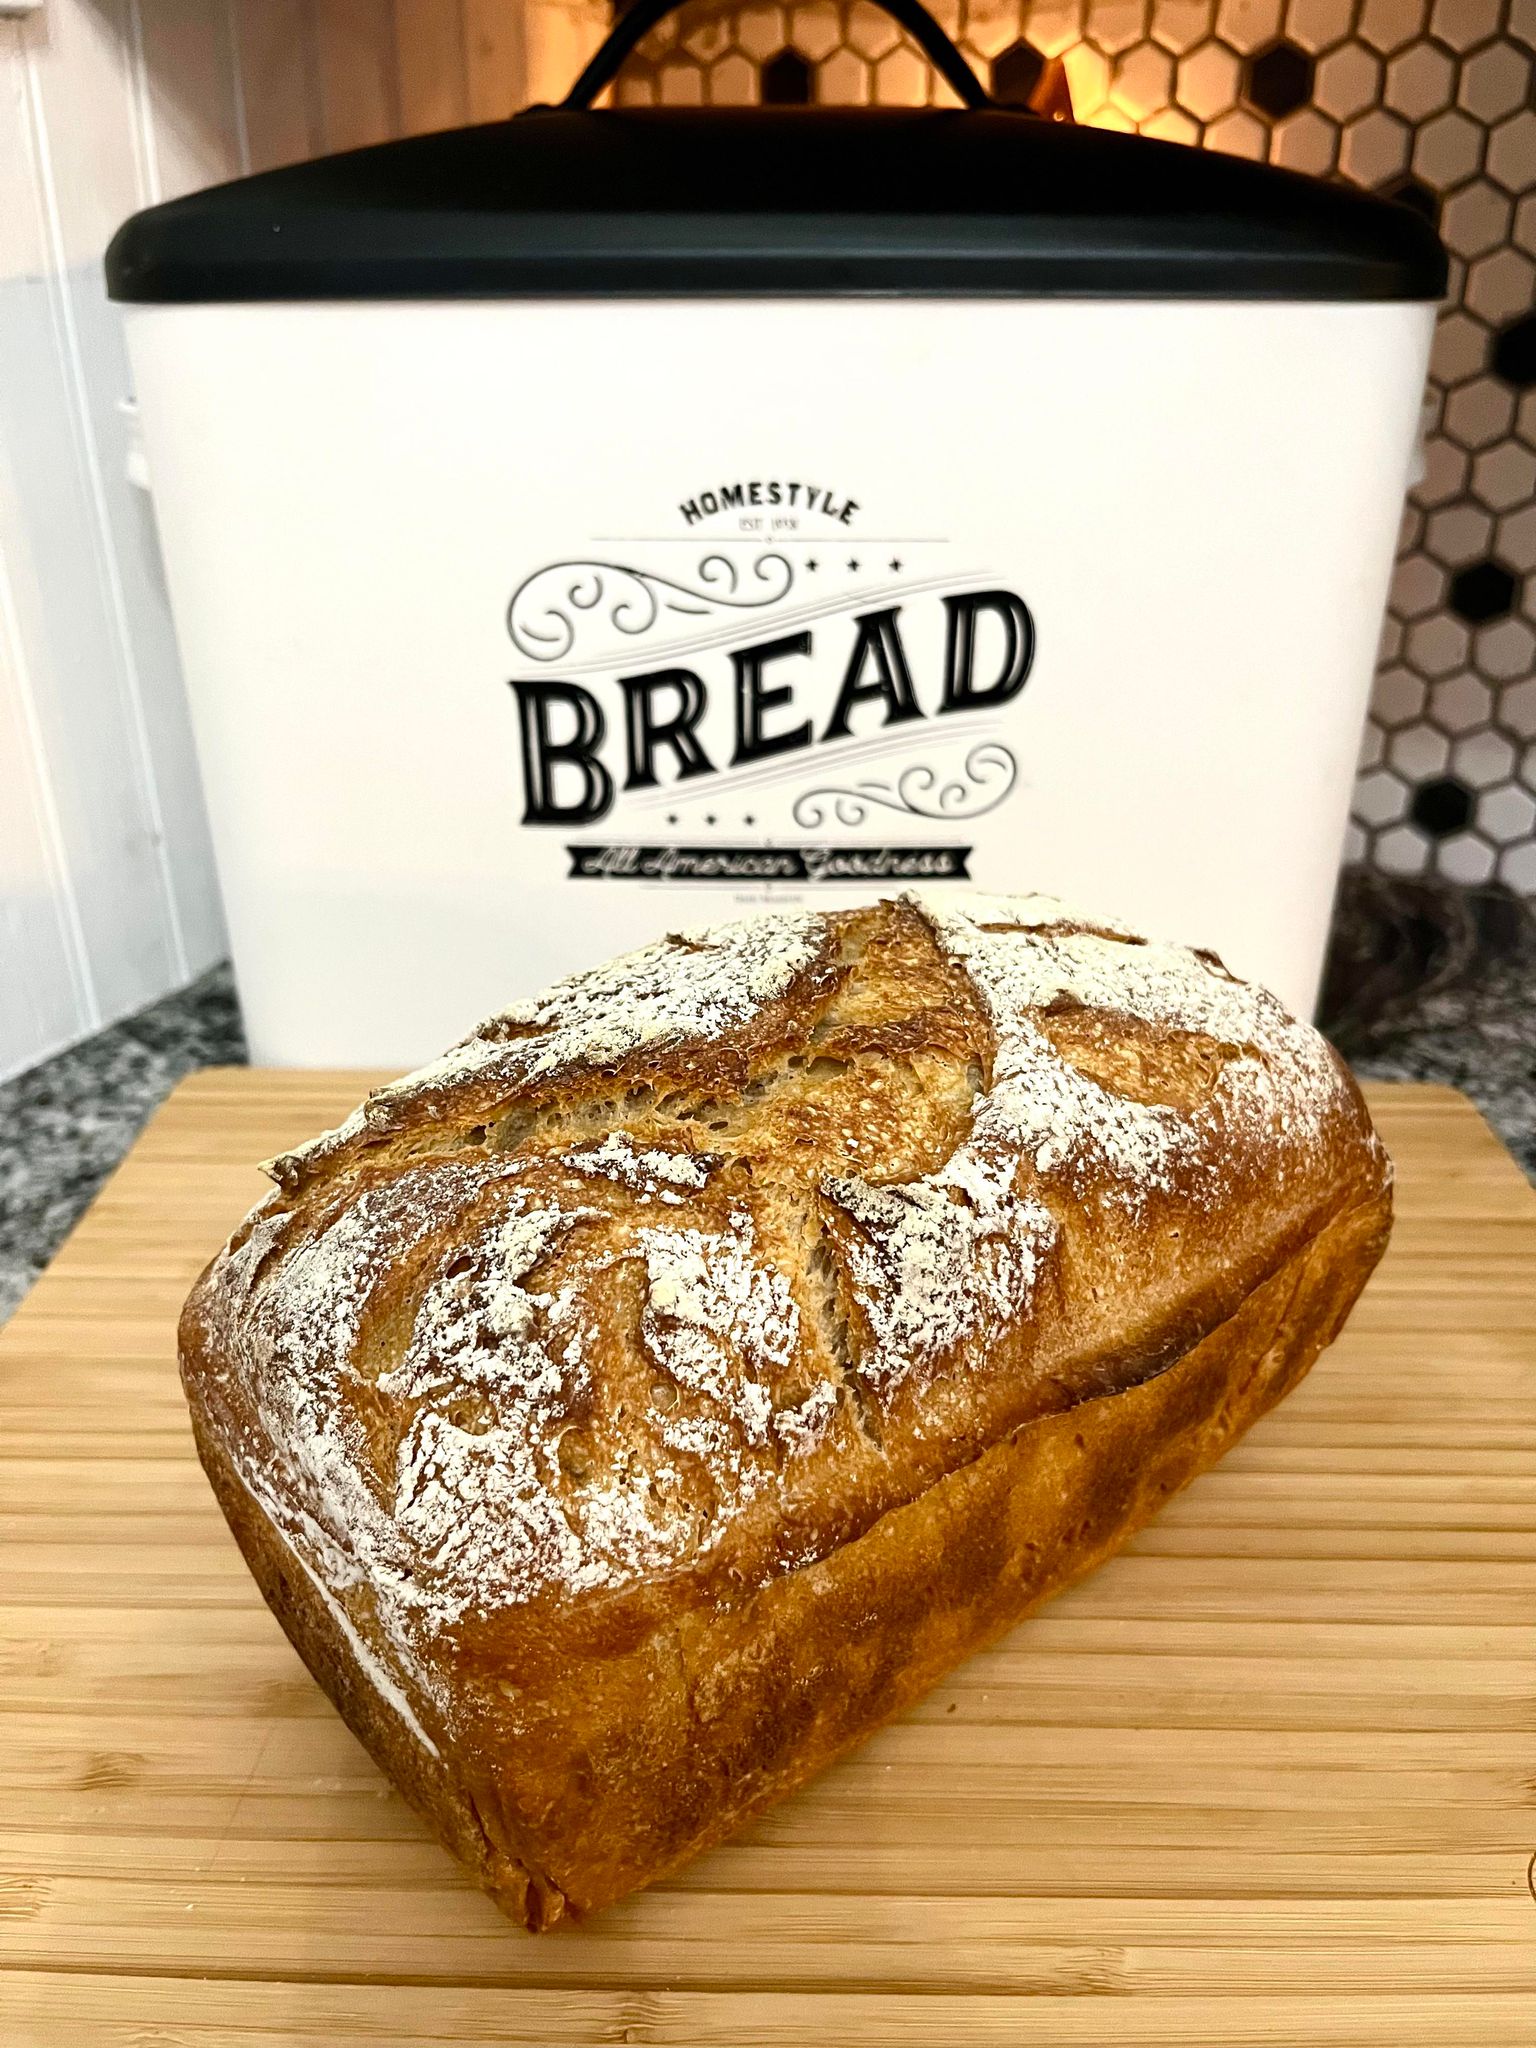
I keep many of my favorite recipes on my blog so that I can find them easily and pass them along. Kathy gave me lots of tips and tricks. I am sharing the recipe she gave me when she mailed a sourdough start to me. It has worked wonders for me. Mine don’t turn out photo perfect (hence why that is Kathy’s bread in the photo and not mine.) But even with my imperfections the bread always tastes delicious.
Feed the Starter
1 Quart Jar
100 grams of Starter
100 grams of Water
100 grams of Organic Bread Flour
Mix your starter, water, and organic bread flour together and place inside a quart jar. Let is sit at room temperature up to 8-12 hours, until bubbly. Honestly, on occasion I’ve been pressed for time and have waited as few as 2-4 hours with success. You can use regular flour, but when I switched to Costco’s Organic Bread Flour it was a game changer. Plus, organic food is better all around.
Sourdough Bread Recipe
85 grams Bubbly Starter
240 grams Filtered Water
425 grams Organic Flour
5 grams Salt, iodine free (I use Celtic Salt)
Directions
- Mix starter with water until blended; add flour and salt. Dough will be sticky and easier to handle with wet hands.
- Place in a covered bowl using a lid, plate, or wet towel. I use large Tupperware containers.
- Let ist on the countertop or in a nice warm spot in your kitchen for 3-4 hours until your reach bulk fermentation. The dough should bave has risen, but not necessarily doubled and should feel spongy and light and not dense and sticky.
- Next you want to stretch and fold to build elasticity by picking up the dough with wet handand folding it over the bowl as it stretches back into the bowl in a vertical column while you fold it over itself. Rotate a quarter of a curnd and repeat 2 more times 30-60 minutes apart. And again, honestly, I have failed at this step as well and it has turned our great. I rarely do more than folding the dough once with a minor stretch. Kathy gave me the directions, but I am a terrible direction follower and I generally get really distracted. So far I’ve been lucky to have so much success at sourdough bread.
- Generally this is the step where I realize I’ve forgotten to touch the dough but several hours have passed and the day is ending so I jump into gear. All direction followers should prep the pan and shape the dough that you have properly stetched and folded. Prepare you pan by lining it with parchment paper. The proper way is to carefully insert two pieces of parchment paper to create a sling, but I roughly cram my one peice of parchment paper in.
a. If you bake in a round boule, you should stretch and shape the dough into a ball, pulling the top of the dough to the outer edges and tucking under the bottom, until the top of the dough ball has a smooth, tight surface.
b. For a sandwich loaf shape, stretch the dough into a rectangle shape, one side slightly longer than the bread pan, then roll the longer sides inward to form a cylinder shape, with the seam on top. No matter which pans you use tuck each end toward the center seam and flip the dough over, so the seam is on the bottom and the top has a smooth, tight surface. Place into prepped pan - Cover and let the dough rise in the pan you will be baking in. The easiest way to cover the pans is with a shower cap. Occassionally when the day has gotten away from me I will put the loaves in the fridge overnight to defer baking and start the next step the following day.
- When the dough has risen or your are ready to bake, preheat oven to 480°; if dough has not been refrigerated, put it in the fridge for 10-15 minutes while oven heats up. Score the loaf right before going into the oven: using a razor or lamé, make a cut about 1/2” deep down the center of the sandwich loaf- or cut a cross or X in the center of the boule loaf. And again the scoring step has been missed many times for me, but it all works out.
- Create a foil tent over your pan. Bake at 480° for 20 minutes with a foil tent covering the sandwich loaf; lid on the Dutch oven for the boule. Set a timer. After 20 minutes reduce temp to 450°. If you are using a boule bake an additional 15 minutes. If you are using a loaf pan bake for 10 more minutes with the foil tent, and then remove the foil tent for the final 5 minutes of baking.
- Removed the bread out of pan as soon as it’s done to prevent the bottom from burning. I missed these directions from Kathy until just now: Flip it upside down onto a cutting board; thump or tsp the bottom of the loaf to test for doneness – it should make a hollow sound when done. Let bread cool completely before slicing! If you cut it when still warm the bread will get a gummy texture.
- I generally finish this at about 10 p.m. so I through a dish towel over it to allow the bread to cool completely without getting hard as a rock uncovered overnight…ask me how I know. LOL.
I share all the tips and tricks to do it right and how I often do it wrong so that you will feel confident to make sourdough bread whether you are a rule follower in the kitchen or not.


Leave a Reply